Lesson Planning with Me

Hello! I teach an integrated preschool classroom, which means I am responsible for students ages three to five with special needs of all types as well as typical developing students. My students range in ability from a toddler to a typical kindergartener. Therefore, my activities must be able to reach a wide range and be easily adjusted for multiple ability levels.

I created this blog as a way to keep track of the fantastic ideas I have gathered over the years. Because I just randomly add activities to the blog, use the search, standard list, or theme list on the left side to find the activities you are after!

I also create and sell resources that can be found at TeachersPayTeachers and Teacher's Notebook.

Sunday, September 29, 2013

Exploring Pumpkins

From: PreKinders

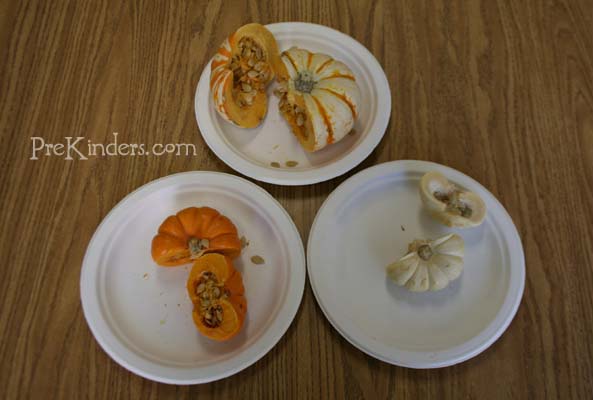
pumpkin science center

We had several pumpkins of different sizes and colors for the children to observe, touch, and make observational drawings. After several weeks, these were cut in half for the children to observe the inside. Tweezers were placed in the science center with the pumpkins for children to pick out the seeds.

Pumpkin Letter Activities

From: Pre-K Pages

Halloween Letter Matching
pumpkin mat
Setting: Small Group, ABC/Literacy Centers

Objective: Visually discriminate letter shapes, matching

Materials: laminating film, scissors, orange construction paper, pen, magnetic letters

Directions: Fold each sheet of construction paper in half and cut it in the shape of a pumpkin. Use a pen to trace magnetic letters onto each pumpkin mat. Laminate the pumpkin mats and give one to each child in your small group. Have students match magnetic letters to the correct outlines.

Pumpkin Beginning Sounds
beginning sounds
Setting: Small Group, Literacy Centers

Objective: Letter Sounds

Materials: Orange construction paper, scissors, laminating film, Sharpie marker, alphabet items from Lakeshore Letter Sound Teaching Tubs, pumpkin container

Directions: Select certain sounds your students need to work on and place the items from the Lakeshore Letter Sound tubs in your pumpkin container. Cut large pumpkin shapes from the construction paper, write your letter sounds on each pumpkin with the Sharpie marker and laminate the pumpkins for durability. Seat students around the table, place the pumpkin container in the middle. Students will take turns selecting items from the container, identifying the beginning sound, and placing the item on the mat with the corresponding beginning sound.
Sunday, September 22, 2013

Leaf Letter Fishing

From PreKinders:

Leaf Letter Fishing
leaf fishing
Setting: Small Group, Literacy Centers
 
Objective: Alphabet Recognition
 
Materials: leaf cut-outs, ABC stickers OR Sharpie marker, paper clips, recording sheet, Do-A-Dot markers- one per child, fishing poles
 
Directions: Laminate your leaf cut-outs and write one letter on each leaf using the Sharpie marker or place one letter sticker on each leaf. Place paper clips on each leaf and put leaves in a tub or container of some sort in the middle of the table. Students use their fishing poles to “catch” the leaves and stamp the matching letters on the recording sheet with their Do-A-Dot markers. The recording sheet has a large leaf outline on it with all the letters of the alphabet written inside. Students use Do-A-Dot markers to mark the letters they have caught.

Fishing poles: 12 inch dowels, string, hot glue gun, round magnets

Tie the string to the end of the dowel and use the hot glue gun to secure it to the dowel. Next, hot glue the round magnet to the end of the string.

Leaf Counting

From PreKinders:

Leaf  Theme

Leaf Counting

[Math]
I used leaf craft punchers to cut out the pieces from construction paper. Print out the numeral sheets. Have children count out the correct amount of paper cutouts to glue onto the numeral.

Toothpick Punch - Fall Edition

From PreKinders:

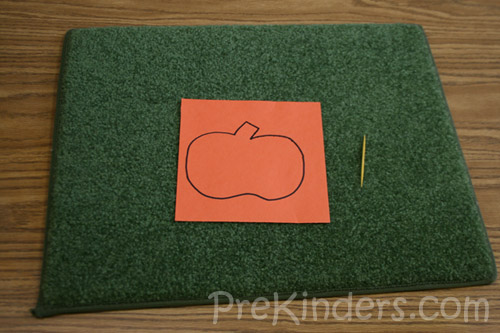
Toothpick Punch with Pumpkin

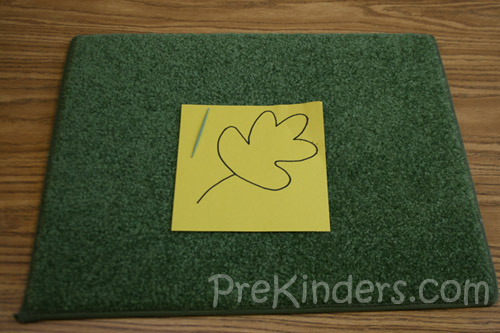
Toothpick Punch with Leaf

To do this activity, cut squares of construction paper (I cut mine 6×6 inches). Draw a simple pumpkin or leaf shape with a Sharpie.

I placed a stack of these papers in the fine motor center, along with toothpicks and a carpet square. Children place the paper on the carpet square and use the toothpick to punch holes all along the black lines. When they are done, they can hold their paper up to the light and see the light shining through the holes.

Kids enjoy it and it’s great fine motor practice!

Paper Towel Art - Fall Edition

From PreKinders:

Fall Fine Motor Fun #1
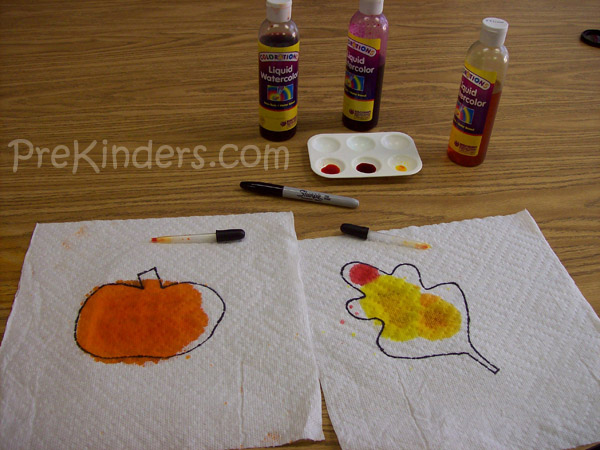
Paper Towel Art

To do this activity, draw a pumpkin or leaf shape on a plain white paper towel using a permanent black marker, like a Sharpie. It must be permanent ink, not a regular black marker. I just free-handed the shapes when I drew them. Use liquid watercolor (mine is Colorations from Discount School Supply), or food color. Pour the watercolor into a paint palette or small dish. Children will use medicine droppers to squeeze drops of watercolor onto the paper towel.

The watercolor will spread outside of the outline, but that’s okay. The point is to have fun while exercising the fine motor muscles.

Tip: place paper underneath the paper towel to soak up the extra watercolor because it will bleed through onto the table.

Sunday, September 15, 2013

Magic Mixture - Apple Dunking

From National Geographic:

Illustration: a boy looking at apple slices and a lemon.YOU WILL NEED
  • An apple
  • Half of a lemon
  • Shallow bowl
  • Water
  • Knife (ask a parent for help)
HERE'S HOW
Peel and slice an apple. Cover one slice with water in a shallow bowl. Sprinkle a second slice with the juice of half a lemon. Leave another slice exposed to the air. Wait about an hour, then compare. The slice with nothing on it turns brown.

WHY?
When an apple is cut open, chemicals inside the apple combine with oxygen from the air to form a brown coating. The coating keeps oxygen from getting deeper into the apple. Water protects the first slice from oxygen in the air so it stays white. Vitamin C in the lemon juice binds with oxygen, keeping oxygen away from the second slice, so it stays white the longest.

Text by Julie Vosburgh Agnone
Illustration by David Bamundo